Monday, December 23, 2013

Almost time for Ole St. Nick....


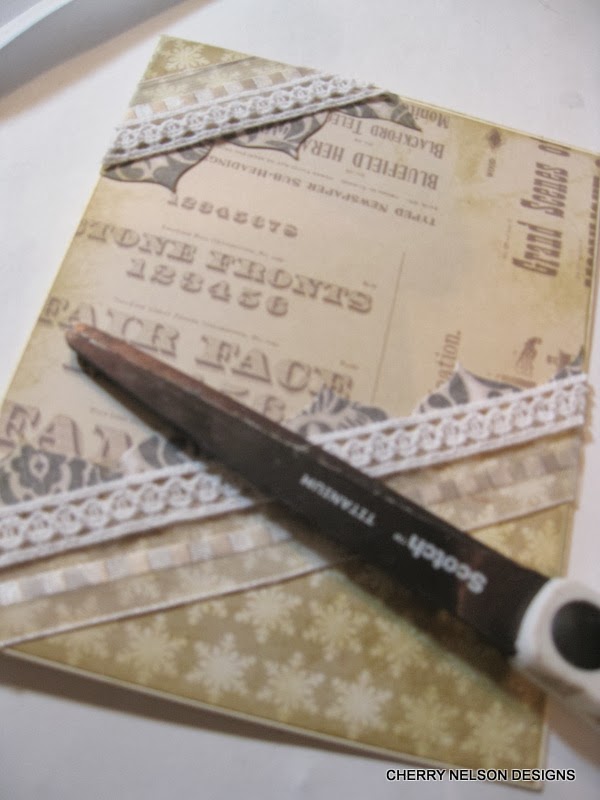
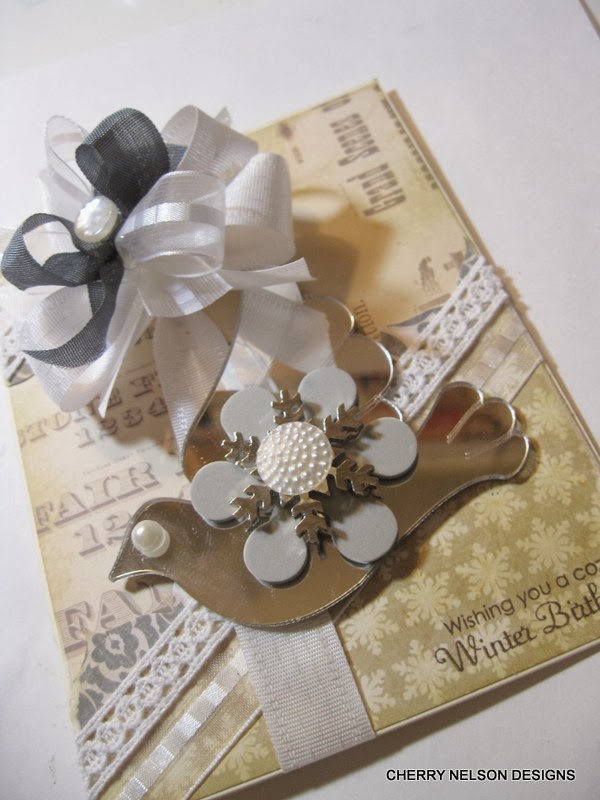
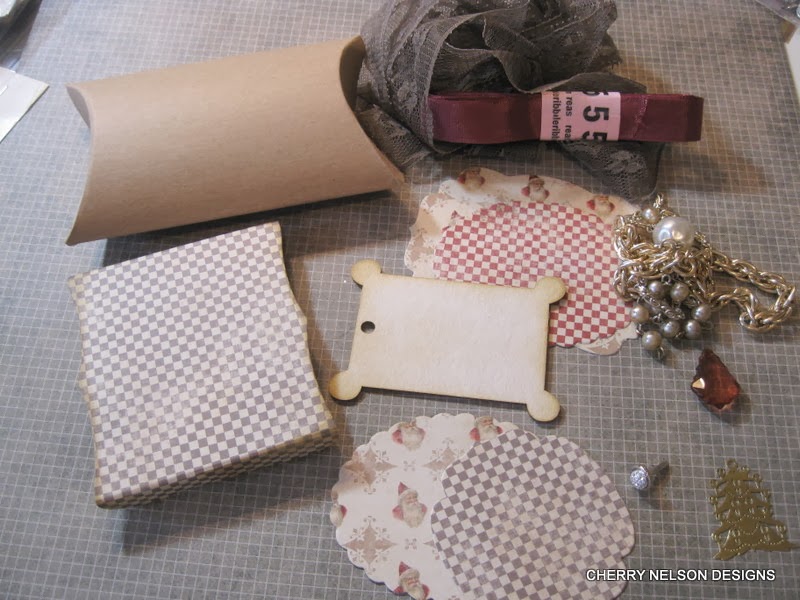
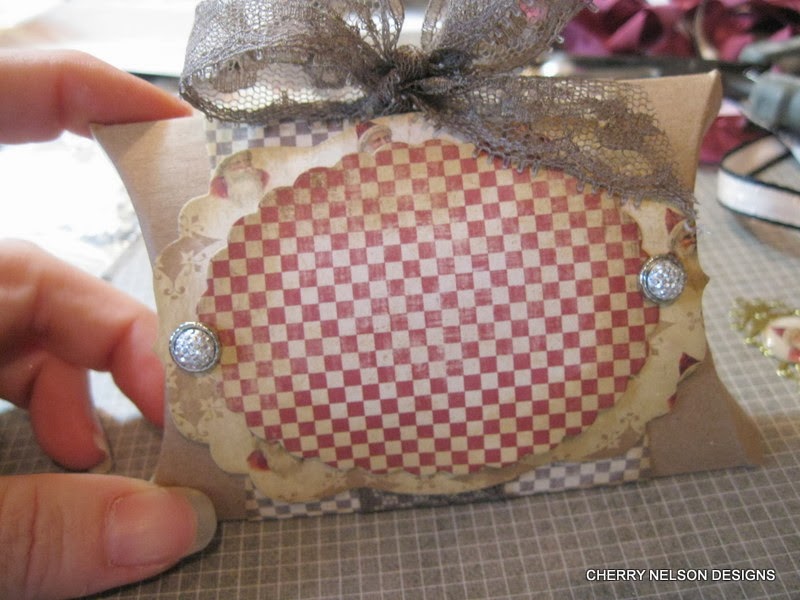
Well...it is almost time for Ole St. Nick to make his rounds.  I am popping in with one last little creation before Christmas time is fully upon us.  This is yes...another stocking.  Sorry but Like I said I had a lot of fun doing these this year.   This one has more of a shabby old world feel to it.    I used some lovely Riddersholm papers, a image from my stash, and a pretty pinecone from JoAnns.   I used the most gorgeous Pewter crochet lace from May Arts, Charcoal Gray seam binding, Diamonds and Dots on silver, and a bit of  Amelia white crochet lace on the "toe and heal" of the stocking.  I posted this pic of Ms. Moops because she also wanted to wish you a very Merry Christmas!  She has been very very good (ha ha) and waits patiently for Santa to come and bring her a toy.   Hope you enjoy and have a very merry Christmas!  hugs, cherry

Monday, December 16, 2013

Tis the season....


Hello popping in real quick to share a cutie for Crafty Secrets.   I wanted to go off the background of the sweet  and use some blue.  I added red to keep it traditional.  I love blue and red together and think it works well with this image.   I used papers from Pretty Little Studio.  Simple and cute and full of Kitschiness!  Merry Christmas, cherry

Friday, December 13, 2013

RRR blog hop!


Can't believe it,  but it is time for another blog hop with RRR.  This month is zipping by!   This month's ribbon selection is called "winter blues" and it is just gorgeous.    You should have made your way here from Heather's blog.  If along the way you get lost you can always start back at the RRR link up above.   I had so much fun creating with the ribbons I ended up with two ...the first being a Winter birthday card that I turned into a step x step for you.  Starting with your paper scraps and cutting them diagonally at whatever width you would like.   I used Scor-tape to adhere my diecut border, lace, and ribbon.   Next wrap your ribbon all the way around the card and tie a base bow towards the top.  I layered mine with another bow and a bit of charcoal grey seam binding.   From here adhere your bird and snowflake layers and top the bow off with a pearl button.  Last but not least stamp your sentiment in the lower right corner.  Always a good idea to have some birthday cards tucked away.   My other card is just a sweet Winter greeting....perfect for those club ribbons!  Well that is it for me.....your step stop is Bonnie's blog.  Enjoy!  hugs, cherry

Thursday, December 12, 2013

Nostalgic stockings...


Hello there!  I have a few stocking ornaments to share today using RRR ribbons.  I have had so much fun making these this year.  I have backed mine with chipboard to make them extra sturdy. Covered them in papers, washi tapes, nostalgic dog images, and fun embellishments.  I used red circus dot grosgrain, lipstick red and moss green seam bindings,  stitched grosgrain, and amelia white crochet lace .    Great way to combine ribbons together and use up smaller pieces as well.  After my ribbons were attached at the top I topped them with faux greenery, bells, and stamped tags.  Hope you enjoy!  hugs, cherry

Tuesday, December 10, 2013

Christmas star


Hello and Merry Christmas!  Do you all have your Trees up and ready?   I have a little metal recycled star to share.  It was just a simple brown star.  I spray painted it white and distressed it.  Breaking out the mica glitter , I gave it a light dusting of sparkle.  I have been hoarding this little vintage style Christmas tree charm and knew it would pair perfectly with the Riddersholm Our country Christmas papers.  I framed the tree out with a metal frame and some red tinsel.  The top I added ribbons, berries, and a cute tag from the I Believe collection.  Now it is ready to adorn a tree!   Hope you enjoy!   hugs, cherry

Monday, December 9, 2013

Ole St. Nick..


Who doesn't like a nostalgic Santa image?   Riddersholm has plenty of beautiful ones to choose from!  I started with a background of gorgeous Our Country Christmas  papers.   I cut this sweet dear one from the I believe collection.  I framed him with a neat Wood frame. Adding laces, vintage buttons, and cabochons from the store.  Other than that lots of ribbons and a big sassy bow and tag and ole St Nick was done. I love the greys, creams, and hints of blac from the lace peeking out.   Hope you enjoy!  Merry Christmas, cherry

Saturday, December 7, 2013

Pillowbox tutorial


Hello to you and Merry Christmas!  I have a simple little tutorial on decking out a simple kraft pillowbox using some yummy Riddersholm goodies.  Gather the goodies you want to use and a pillowbox base and we are ready to go.  I used a pillowbox from Wplus9 designs but there are many simple templates for free online as well.  I started by diecutting a few layers of papers from the NEW Our Country Christmas paper pad.  Wrapping the largest layer around the pillowbox and adhering.   Than simply wrapping my lace around the box and tying a big bow at the top.  From there, layer the next diecut and adhere with some gorgeous glitter brads from the store.  I used a wood scallop tag for my vintage image from the I believe collection.  Riddersholm has some of the neatest chipboard/wood pieces.  It is all about the layering process for me....after adding the wood tag/image I added some vintage pearl baubles and a metal charm with a sweet little Santa image from the Country Christmas line.  I used an epoxy bubble cap to cover him.  From here a little more ribbon and twine and it is complete.  This little cutie is ready to fill with candies.....preferably Hersey kisses.  My favorite!  Hope you enjoy!  hugs, cherry

Friday, December 6, 2013

Christmas greetings..


   Happy Friday friends!  We are all  hunkered down in our home....the snow is flying outside and our temps are freezing.     This weather forces you to slow down so I thought I would pop in and share some cards I have been working on lately. 
                         I love dog cards...no secret there.   Especially Terriers.  The first one I used  an image from my stash and a postcard image from Crafty Secrets creating with Retro cd.    I used papers from Pretty Little Studio and other little bits and bobs.   I have been GOOD this year..I have not bought ONE piece of new Christmas paper.  I have so much..I could mix and match till the cows come home.  The second again is all old papers just simply mixed together with another image from my stash.   My third card uses an image from the Graphic Fairy.   I fell in love with this holly jolly flapper girl.  I took a Maya Road flower apart and mixed in some Prima flower bits.  I love the way this card turned out....happy and full of Christmas cheer!   Of course my ribbons are all RRR.  I go through tons of red seam binding this time of year.  Never tire of it!    Make sure to check out  my etsy store if you get time...it is full of Christmas goodies Cherry's Jubilee store.   Hope you are all safe and sound...and warm!  hugs, cherry