Monday, February 24, 2014
Top O the mornin to ya!
Poppin in this evening to share a Crafty Secret project...I always enjoy making a few St. Patties day goodies. Love using the greens and dreaming of Ireland. A place I would love to see someday. I used one of the freebie calendar months from Crafty Secrets. I also used the cute little lass from their seasonal calendar creative scraps. I painted a big chipboard clover and decked it out with a gingham flower and snippets of vintage laces. My yummy ribbon comes from Really Reasonable Ribbon of course. I added a stamped metal tag to the side and was done! Have any Irish friends? Make them a special greeting for St. Patties day! Hope you enjoy
Friday, February 21, 2014
Easter wishes...
Sorry if it seems like I have fallen off the face of the earth but we are knee deep in basketball tournaments. So exciting! So it has left me with not as much time to create or share. I do have a fun and wee bit early Easter project to share with you today, made for RRR I started with a chipboard circular base that I painted a soft robins egg blue. I added pink crochet lace to the outer edge and layered it with handmade crepe paper and vintage tinsel. For the inside I added a diecut chipboard bingo card with a sweet baby chick image. I also added a white mason jar lid to frame the image out. I nestled some diecut leaves cut from old fabric and a cute blossom to the outer edge. The top is loaded with yummy baby pink seam binding along with a mini tag, little millinary flowers, and a pink vintage style rhinestone button. I just love how this turned out! Soft, pastel, and oh so full of Easter cheer! Enjoy! hugs, cherry
Thursday, February 13, 2014
RRR blog hop!
Lovin on these ribbons this month for the RRR ribbon club! You will too! Now you should have made your way here from Heather's gorgeous blog! If at anytime you get lost, just start right back at the RRR blog. I have had Easter creepin into my mind and I had this adorable Crafty secrets bunny image from the Crafty secrets Easter creative scraps. I thought this adorable guy paired perfectly with the gingham in the set. I also added the sweet lace to the bottom of my card. I really like the yellow, greens, and browns together....something I don't think I would have ever thought to combine. Well peeps your next stop is with Miss Bonnie. Have fun and get inspired! hugs, cherry
Tuesday, February 11, 2014
Sugar and Spice
Here to share a whimsical little plaque.....rather small but cute! Reds and aquas mixed with ginghams and polka dots...some of my fave combinations. I started with a chipboard back and covered it with a diecut spellbinder square that stitched. I covered a Maya Road mason jar with my papers and added "straws". I added peekaboo lace to the inside of the heart and some lace blue seam binding to the neck of the jar. I had to cutesy it up more and added some paper buttons and a real buttons along with crepe papers, a tag, and an adorable sweetheart blossom. That is that! hpe u enjoy, hugs, cherry
Wednesday, February 5, 2014
Some Bunny loves you.....
I thought I would stop by to share a couple of cards with you. The first one is one I just made for fun...I fell in love with this image and knew the sentiment I wanted but didn't have it amongst my stash or stamps so I printed it out for myself. I used old papers and goodies....and twill ribbon from RRR that I tea stained. I am really loving the yellow during this time of the year....a bit of sunshine brought inside.
The second card is one that was published in Northridge Publishing Handmade Baby awhile back. I finally got the card back. I used Pink Persimmon stamps on it. Just love their sweet stamp sets. Had a lot of fun making this. Hope you enjoy! hugs, cherry
Tuesday, February 4, 2014
RRR ribbon storage ideas week!
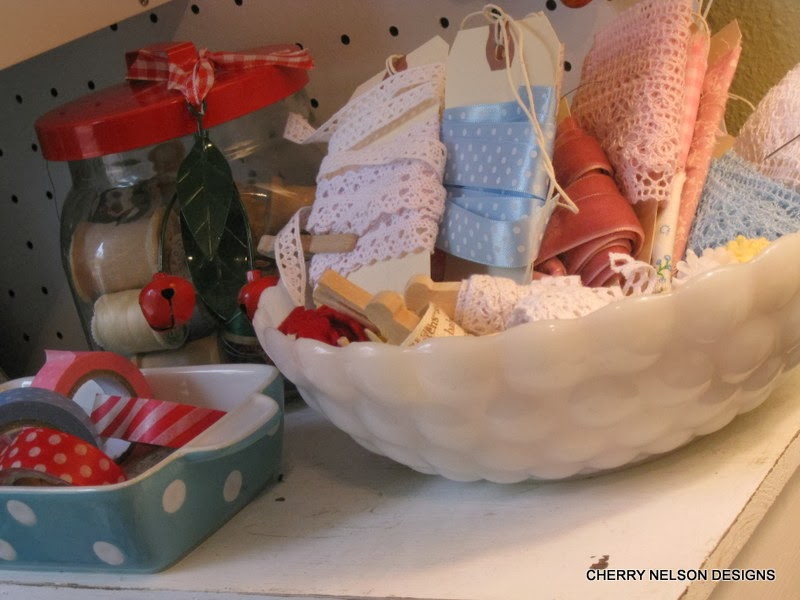
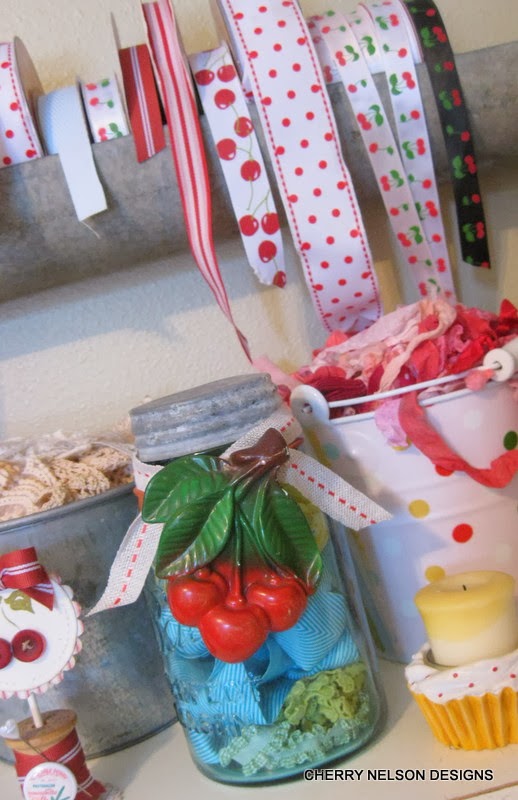
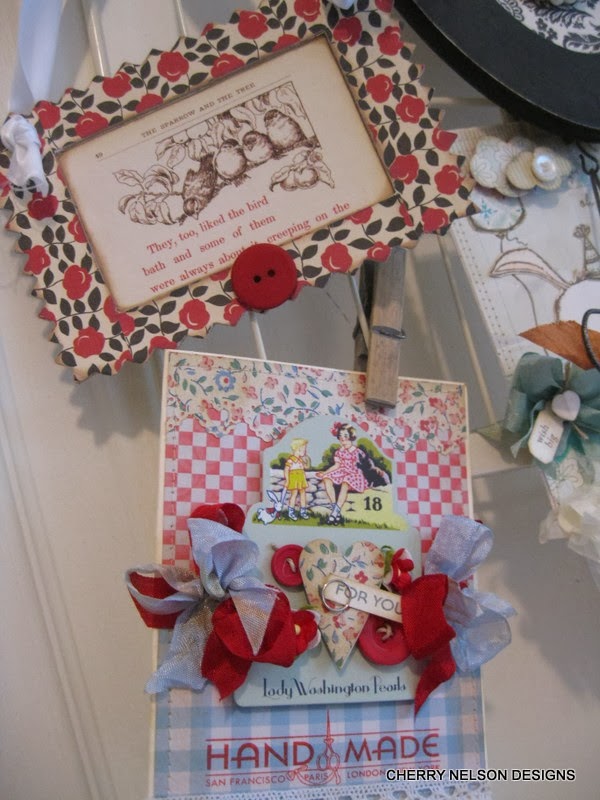
Hello.....fellow ribbon addicts. It's my turn to share a few areas where I house my ribbons. I am a vintage loving gal.....I KNOW I was born in the wrong era...sigh. I love to use old containers...milk glass, buckets, enamelware, and even an old chicken feeder I have hanging on my wall. Whatever floats my boat I use! I have my sweet bakery twine wrapped around old wood spools and wrap my laces around wooden clothespins. Once my laces get down to small little snippets (can't throw them away) I tuck them in my ME tea cup my Mamma got me. I am very sentimental and love to have little things surrounding me that my loved ones have given me. The little mama penguin and baby were given to me this Christmas by my son. Other than that I also house my ribbons in mason jars, and wrap a lot of them around large parcel tags securing them with stick pins. I threw in a few other photos from around my craft room as well...snippets of my happy place! Hope you have enjoyed the little peek into my craft room! hugs, cherry
Monday, February 3, 2014
Crafty Secrets linky party!
Hellllllllllo to you! Have you stayed away from the crud that is going around endlessly? I unfortunately have fallen prey to it. Just will not go away! Thank goodness for working ahead on some things or I would really be behind. This month's Crafty Secrets challenge is of course Valentine related. I couldn't stop at just one project using the Vintage Valentine kit. I have had so much fun this season making Valentine wands and gift packaging. 1) I first diecut some heart layers using my Spellbinder dies using fun patterns and colors. I used foam adhesive to add dimension between layers. 2) I than added my sweet images and started embellishing with tinsel and ribbons. 3) From there add some fun homemade paper fringe. Sooo easy to make by folding layers of crepe paper or tissue paper accordion style and than sew down the middle of all layers. After that simply snip through each layer on either side making sure NOT to cut clear through . From here scrunch it all up in your hands and your done. 4) After adding your paper fringe add washi tapes or borders and any little buttons you would like to add. Embellish to your hearts content and your done! The paper bags are perfect for candy kisses and the wand could top a valentine cake or do what I love and nestle it in a old vintage flower frog. Hope you enjoy....and stay away from the crud! Make sure to visit the other ladies and their wonderful creations! hugs, cherry
List of DT Blogs
Sheila Rumney
Subscribe to:
Posts (Atom)


