
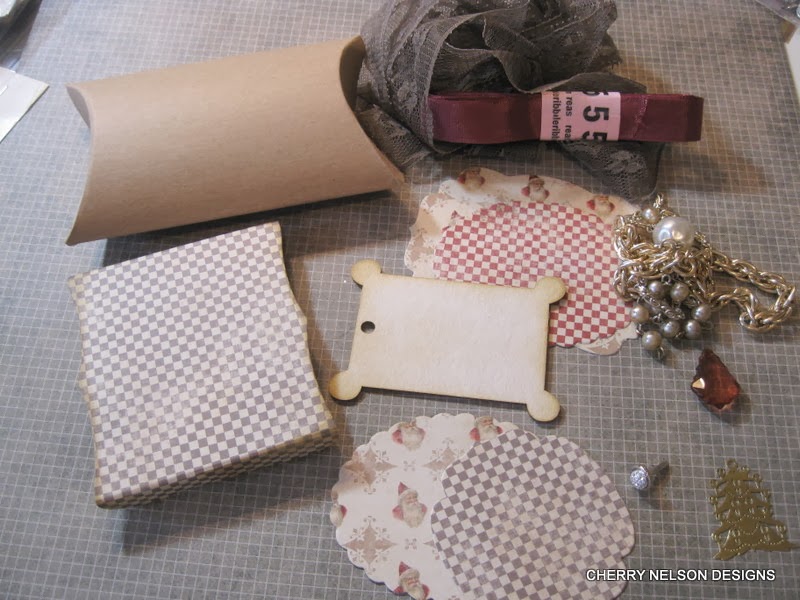


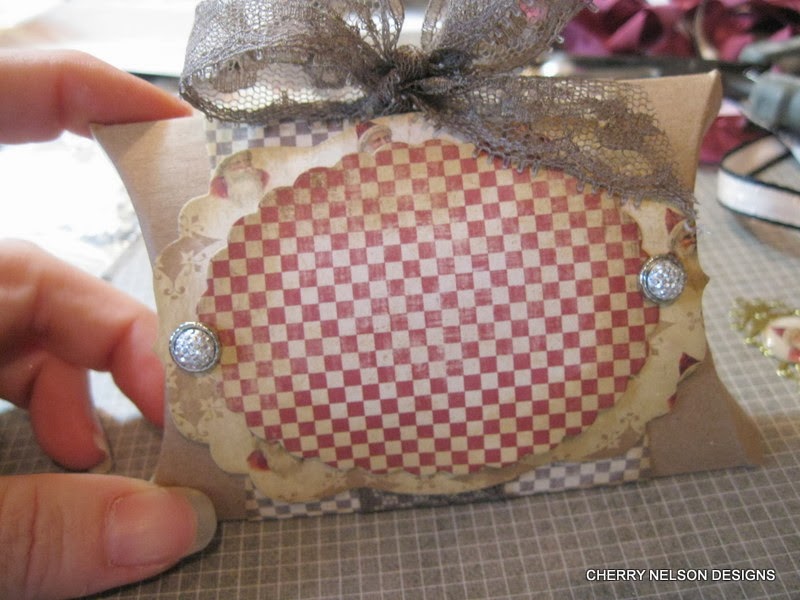


Hello to you and Merry Christmas! I have a simple little tutorial on decking out a simple kraft pillowbox using some yummy Riddersholm goodies. Gather the goodies you want to use and a pillowbox base and we are ready to go. I used a pillowbox from Wplus9 designs but there are many simple templates for free online as well. I started by diecutting a few layers of papers from the NEW Our Country Christmas paper pad. Wrapping the largest layer around the pillowbox and adhering. Than simply wrapping my lace around the box and tying a big bow at the top. From there, layer the next diecut and adhere with some gorgeous glitter brads from the store. I used a wood scallop tag for my vintage image from the I believe collection. Riddersholm has some of the neatest chipboard/wood pieces. It is all about the layering process for me....after adding the wood tag/image I added some vintage pearl baubles and a metal charm with a sweet little Santa image from the Country Christmas line. I used an epoxy bubble cap to cover him. From here a little more ribbon and twine and it is complete. This little cutie is ready to fill with candies.....preferably Hersey kisses. My favorite! Hope you enjoy! hugs, cherry
7 comments:
AMAZING
Dont you just love making such pretty little things? that is simply adorable!
have a great weekend
xoxo
vivian
Oh my GOSH! This is just darling. It is absolutely gorgeous Cherry. Love!
Lou xx
This is just DARLING Cherry! Absolutely gorgeous,as always. Love!
Lou xx
VERY pretty pillow box Cherry, love the way you've decorated it!
So beautiful! Love this!
This is absolutely beautiful!!!
Post a Comment